Here you can find some of the many projects built in my garage.
Garage Radio 3.0
This garage radio came from an idea I had when I was younger and wanted a way to easily test car radios and speakers. This happens to be the 3rd one I built, hence the 3.0 at the end. The first one was more of an experiment I built in 2012 and powered with an old 500W computer power supply. This introduced many limitations in the design, however it worked and still works just as good as when it was first built. Since that time I have learned a lot more, gained some new skills, and overall am in a much better position to create something better.
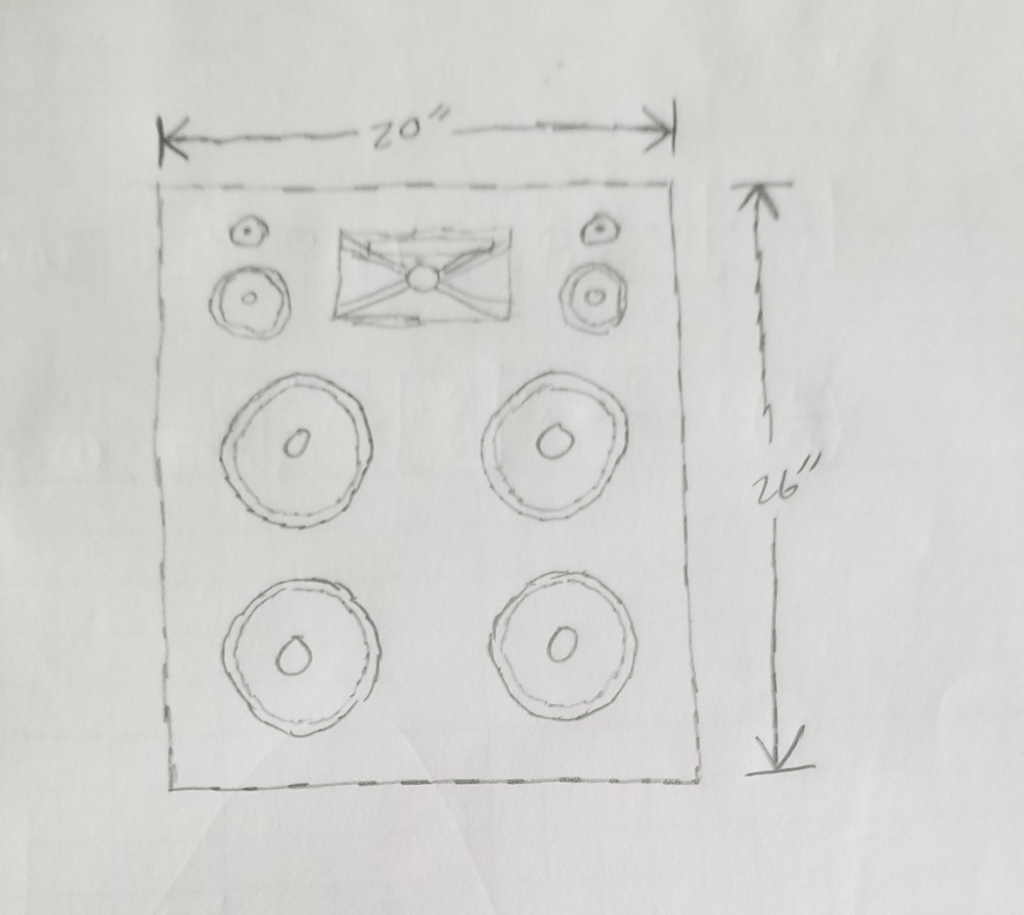
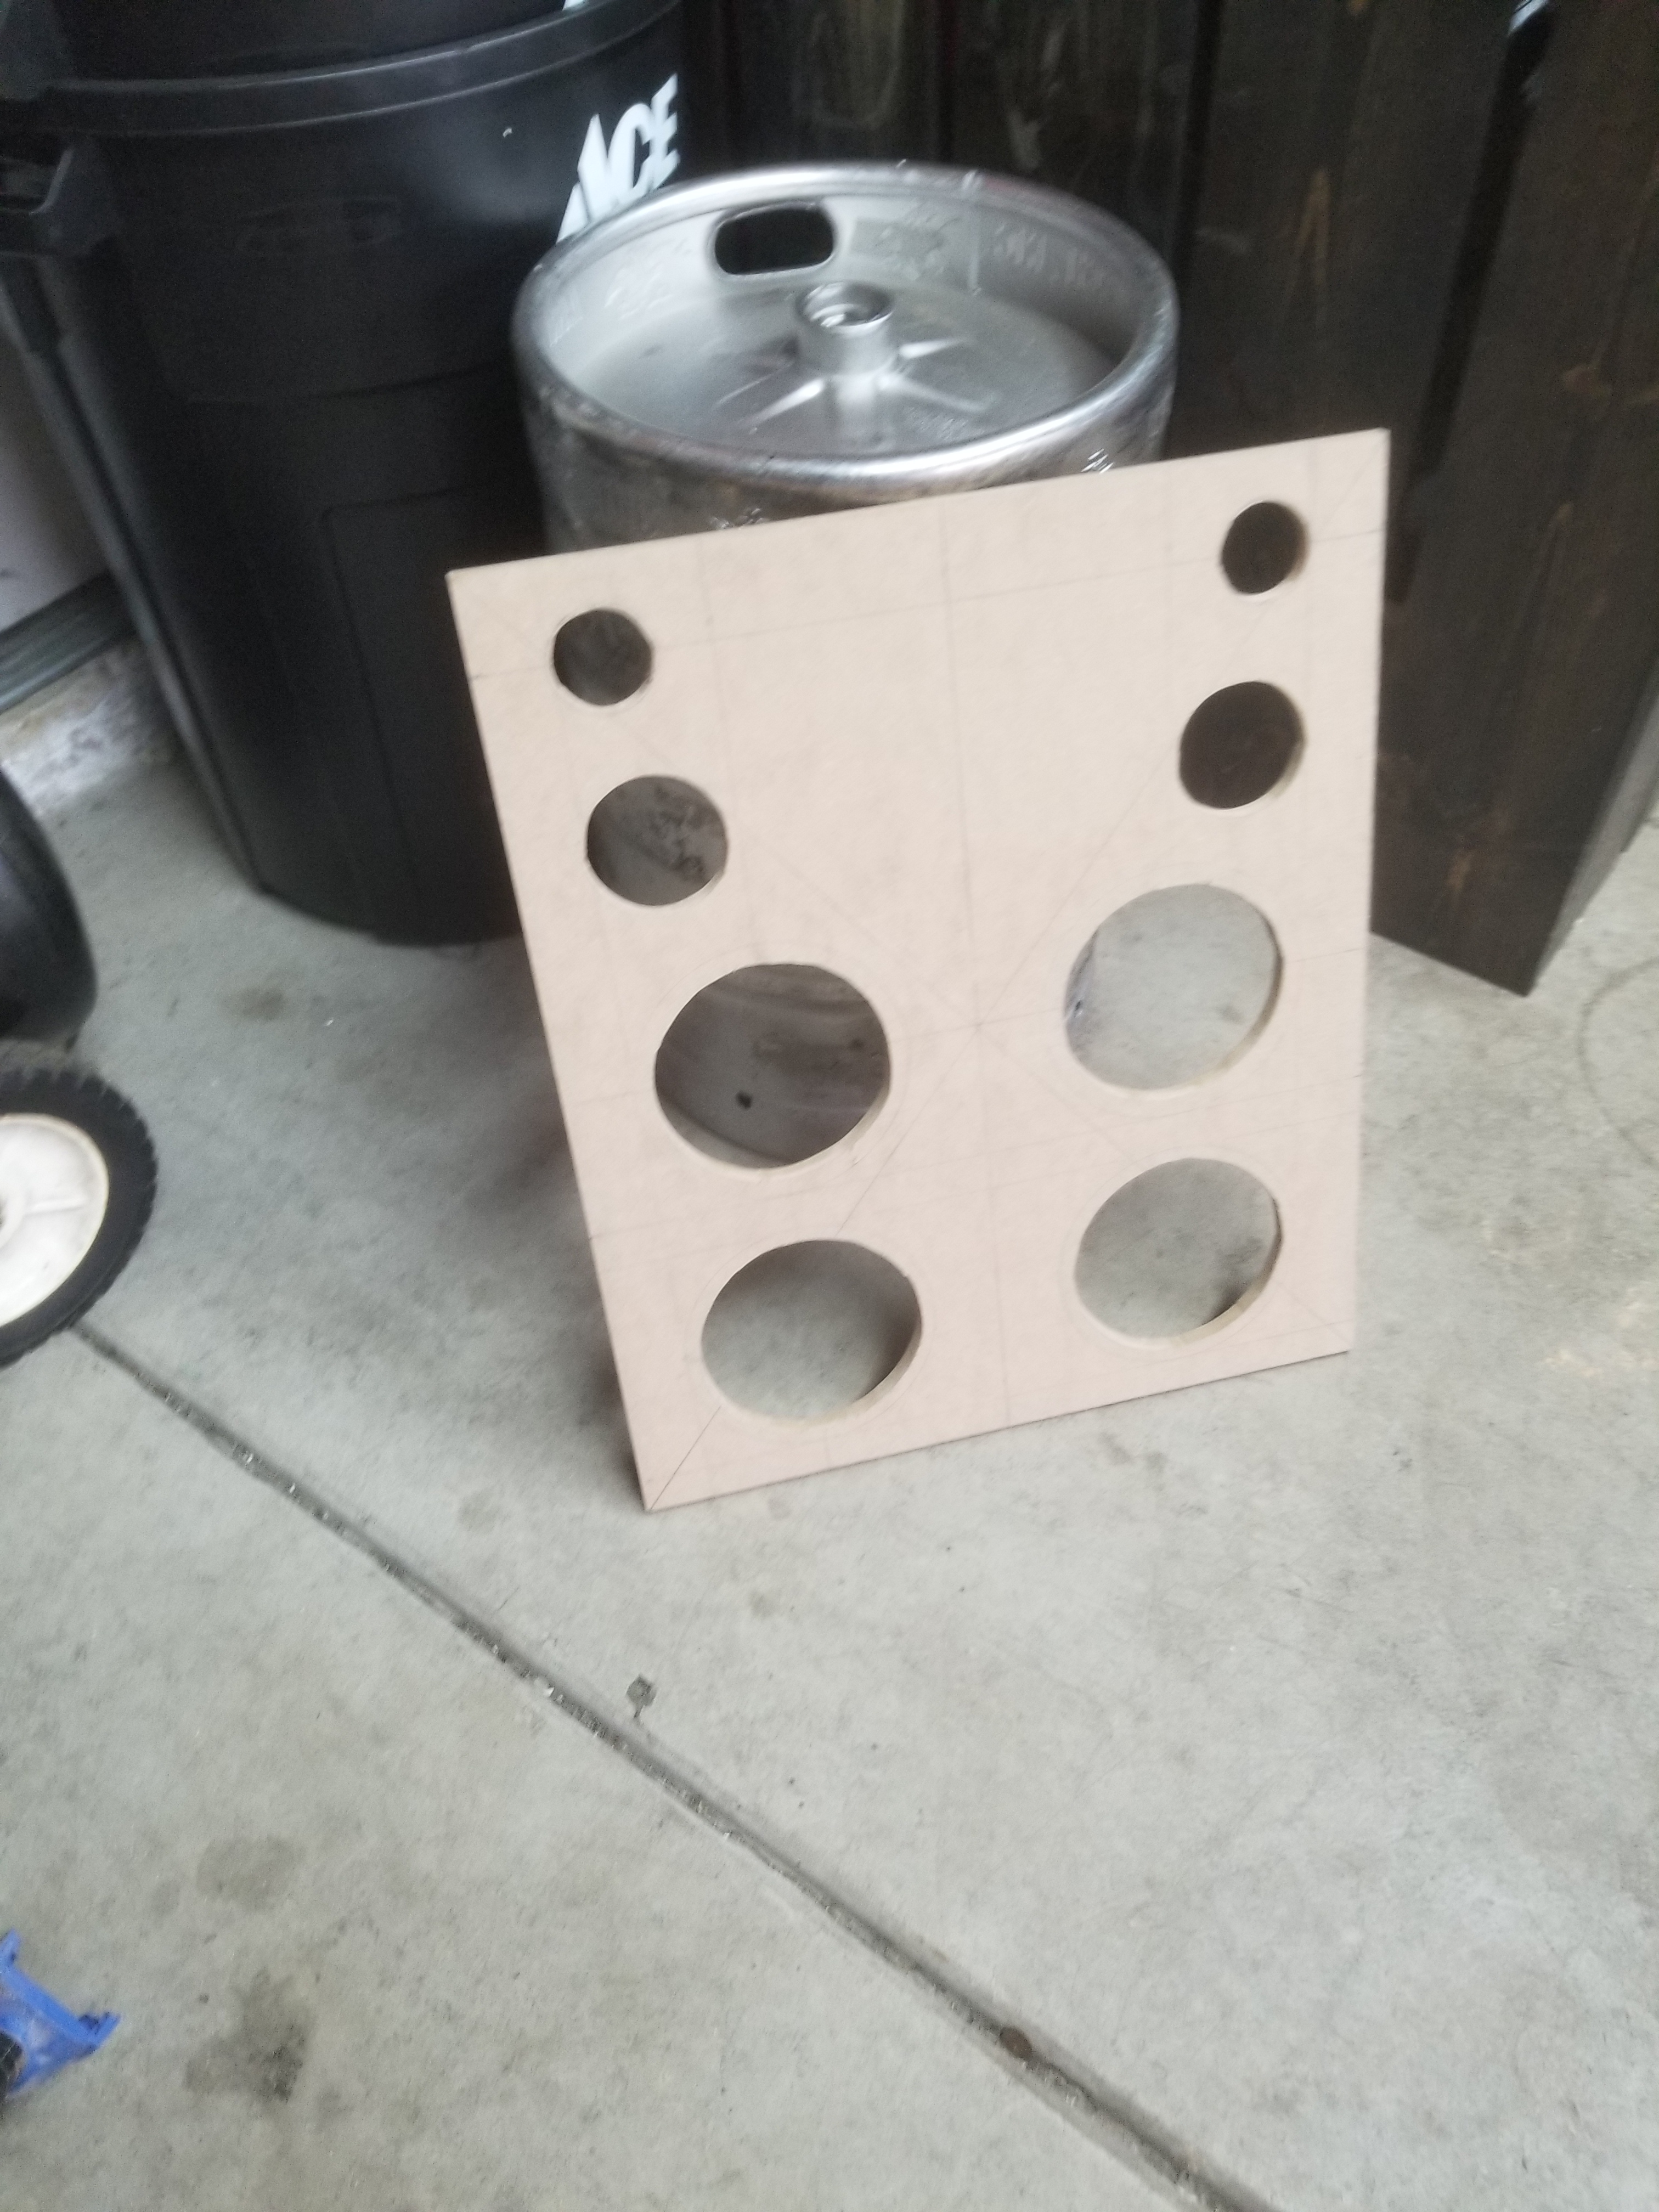
I began by drafting out some ideas on paper. I scrapped many of them, and settled on something that would have four 6 inch or 5 inch speakers, two smaller speakers, and two tweeters for a total of eight speakers. I also determined it would end up being somewhere in the range of 20 inches wide and 28 inches tall.
With some rough dimensions thought out, I purchased a bunch of speakers and supplies from Parts Express. All speakers I ended up choosing were Pyle speakers. They are cheap, and I have had good results with them in the past for similar projects. At this time I also decided the overall radio will have a black and yellow design. This was mainly motivated by the speakers I chose. Parts Express also had a protective paint/coating for speakers cabinets I wanted to try out on this project. Previously I have used speaker cabinet carpeting to cover the wood with. This works decently, but I was more than happy with the results from the cabinet coating.
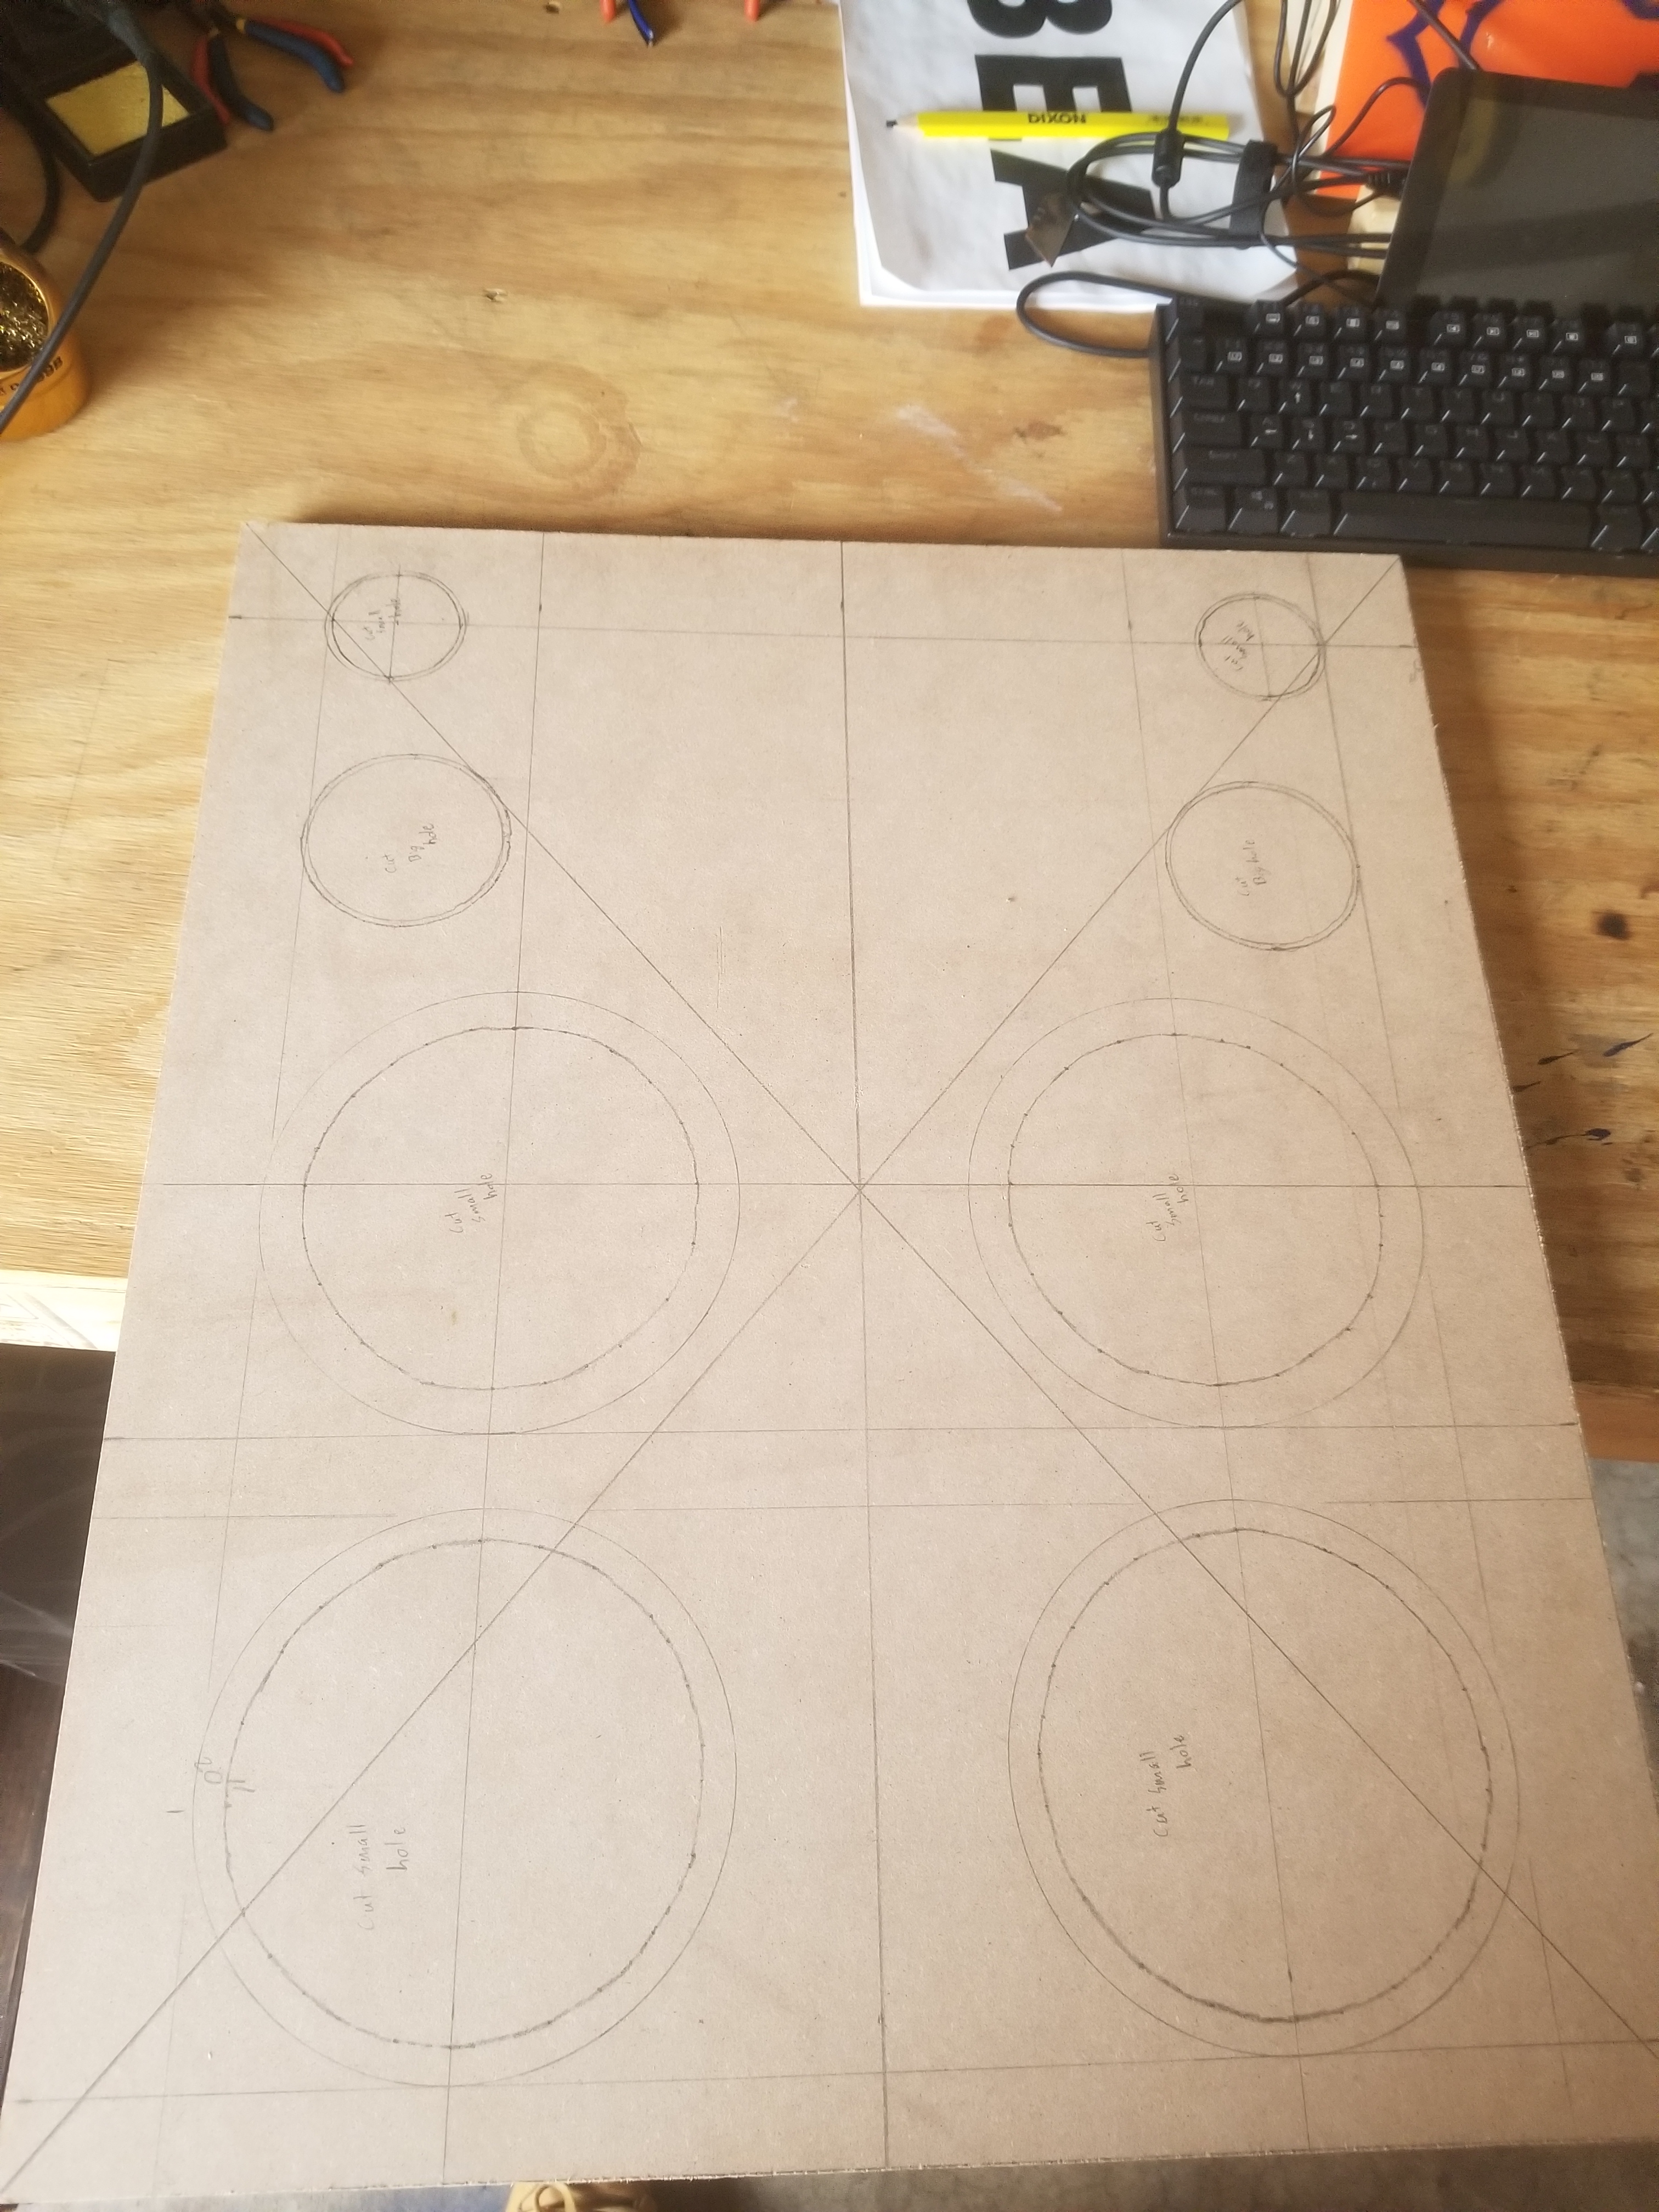
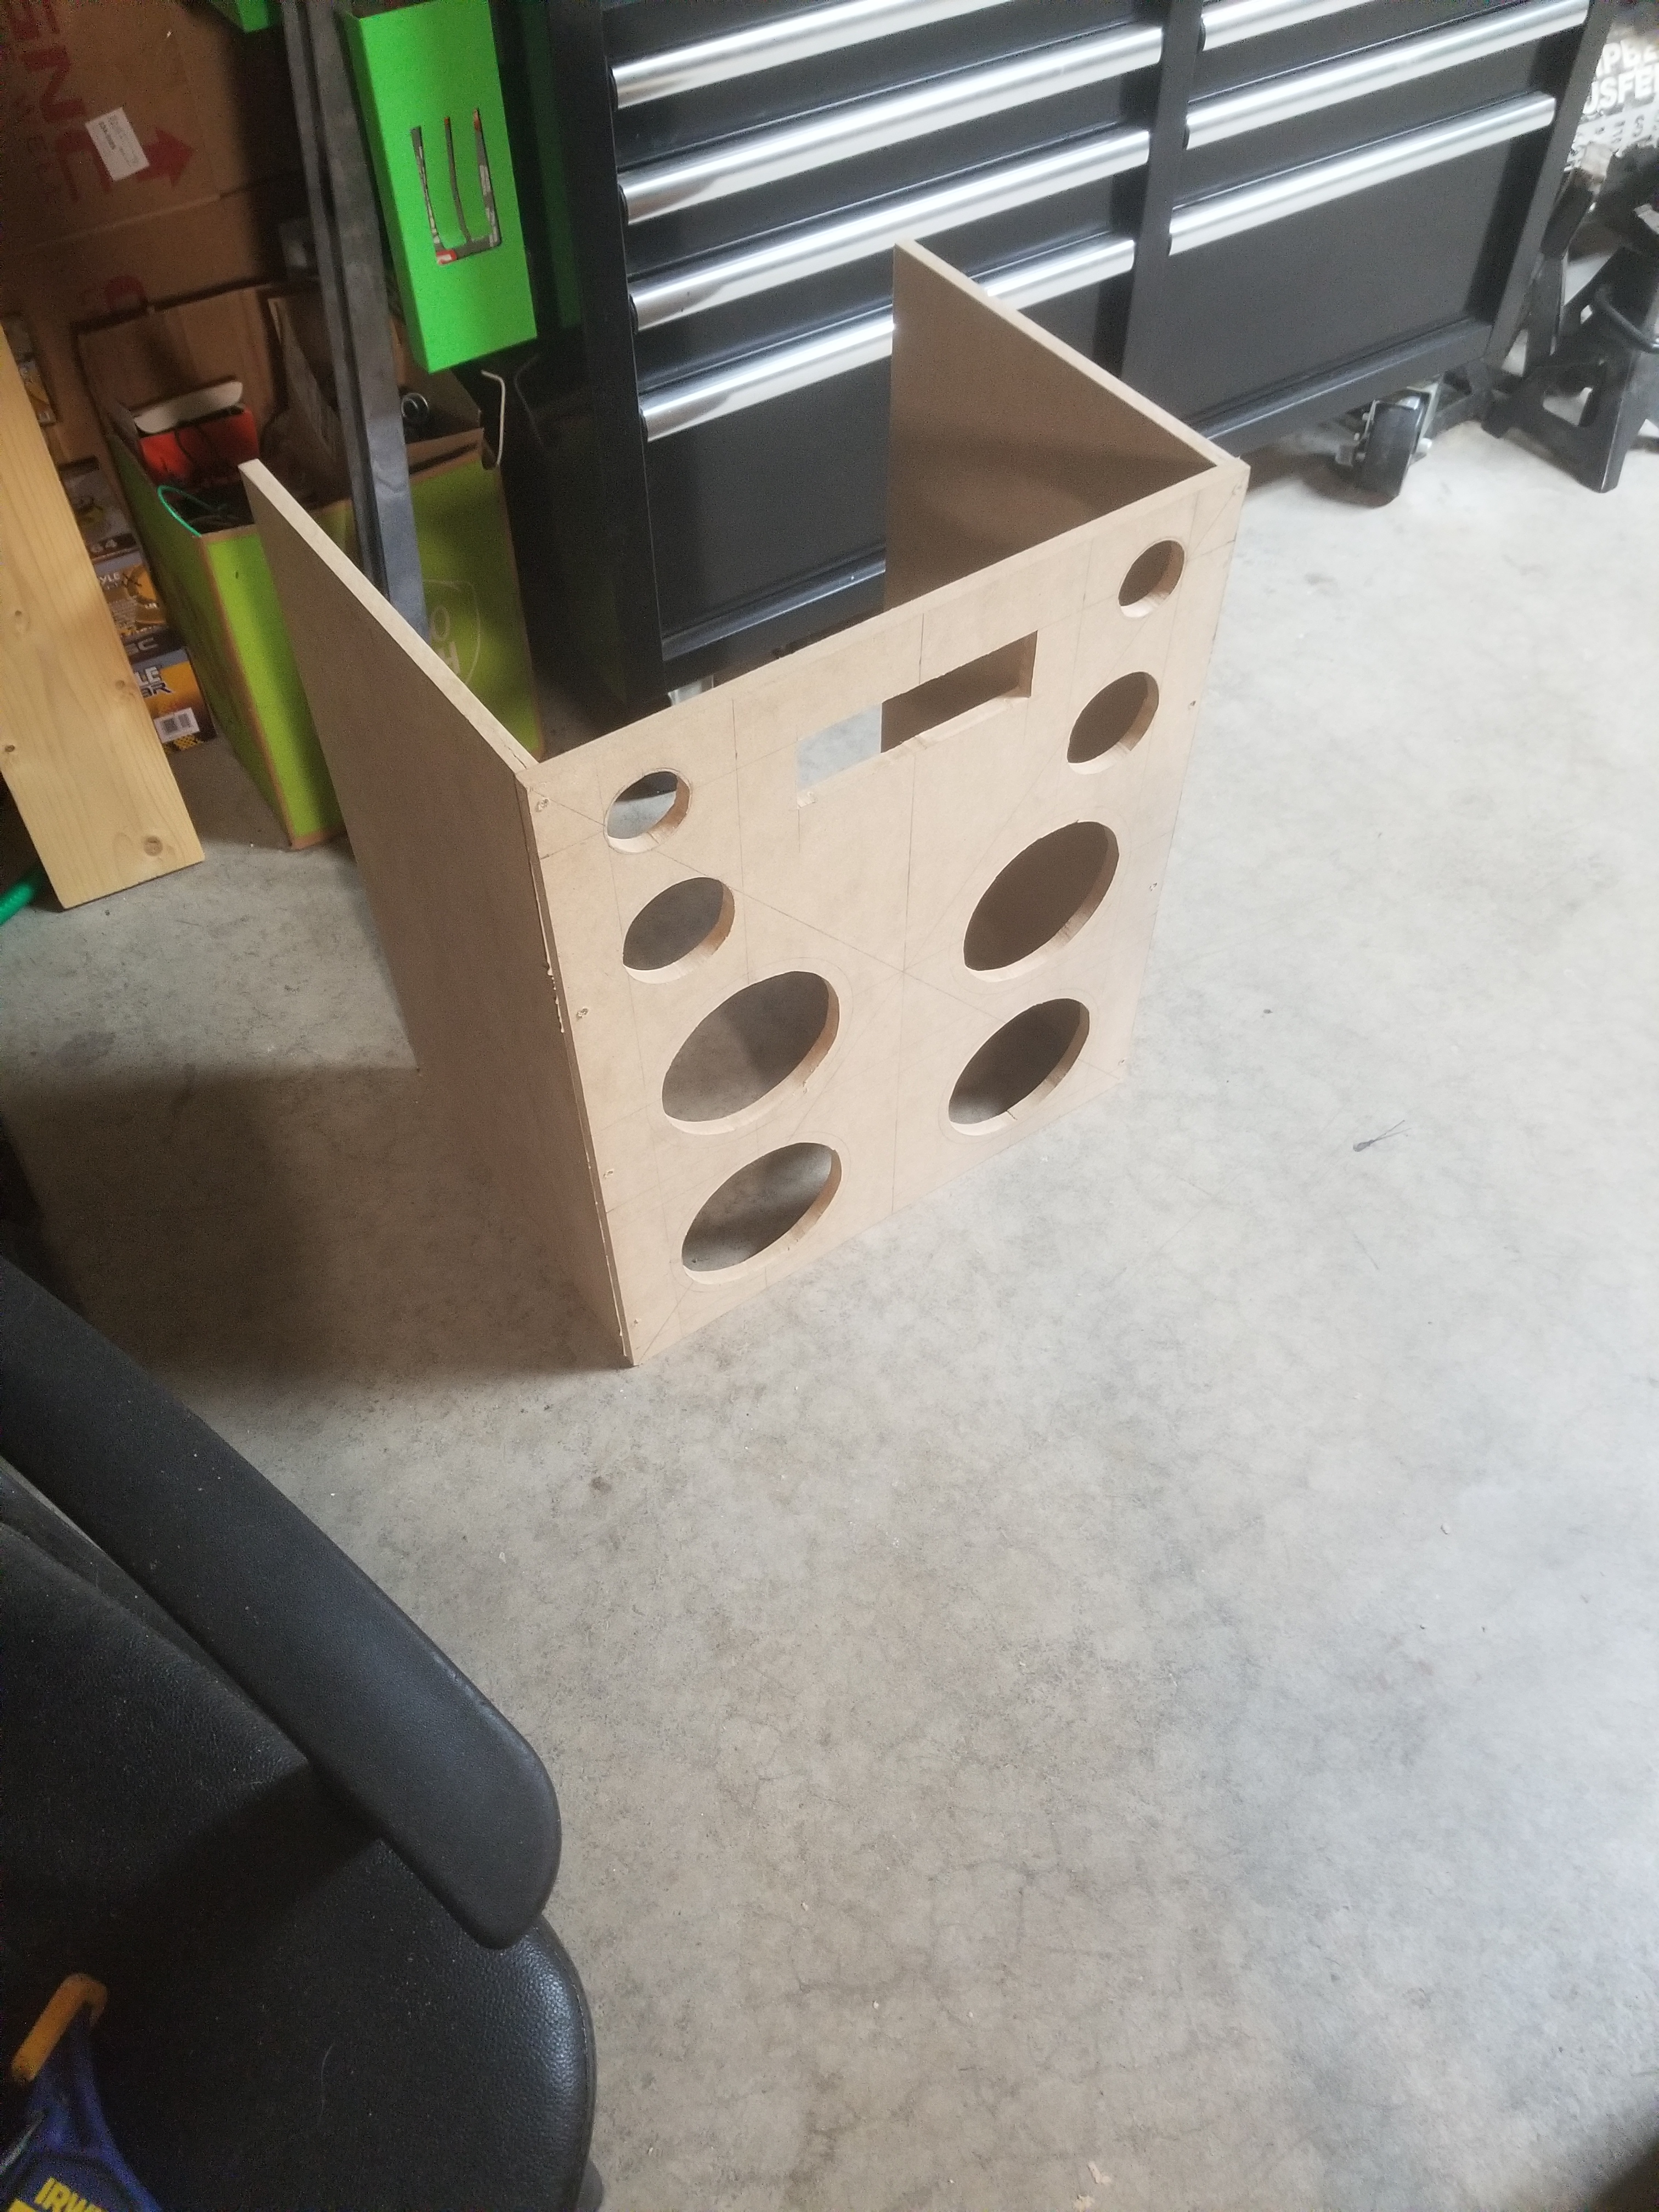
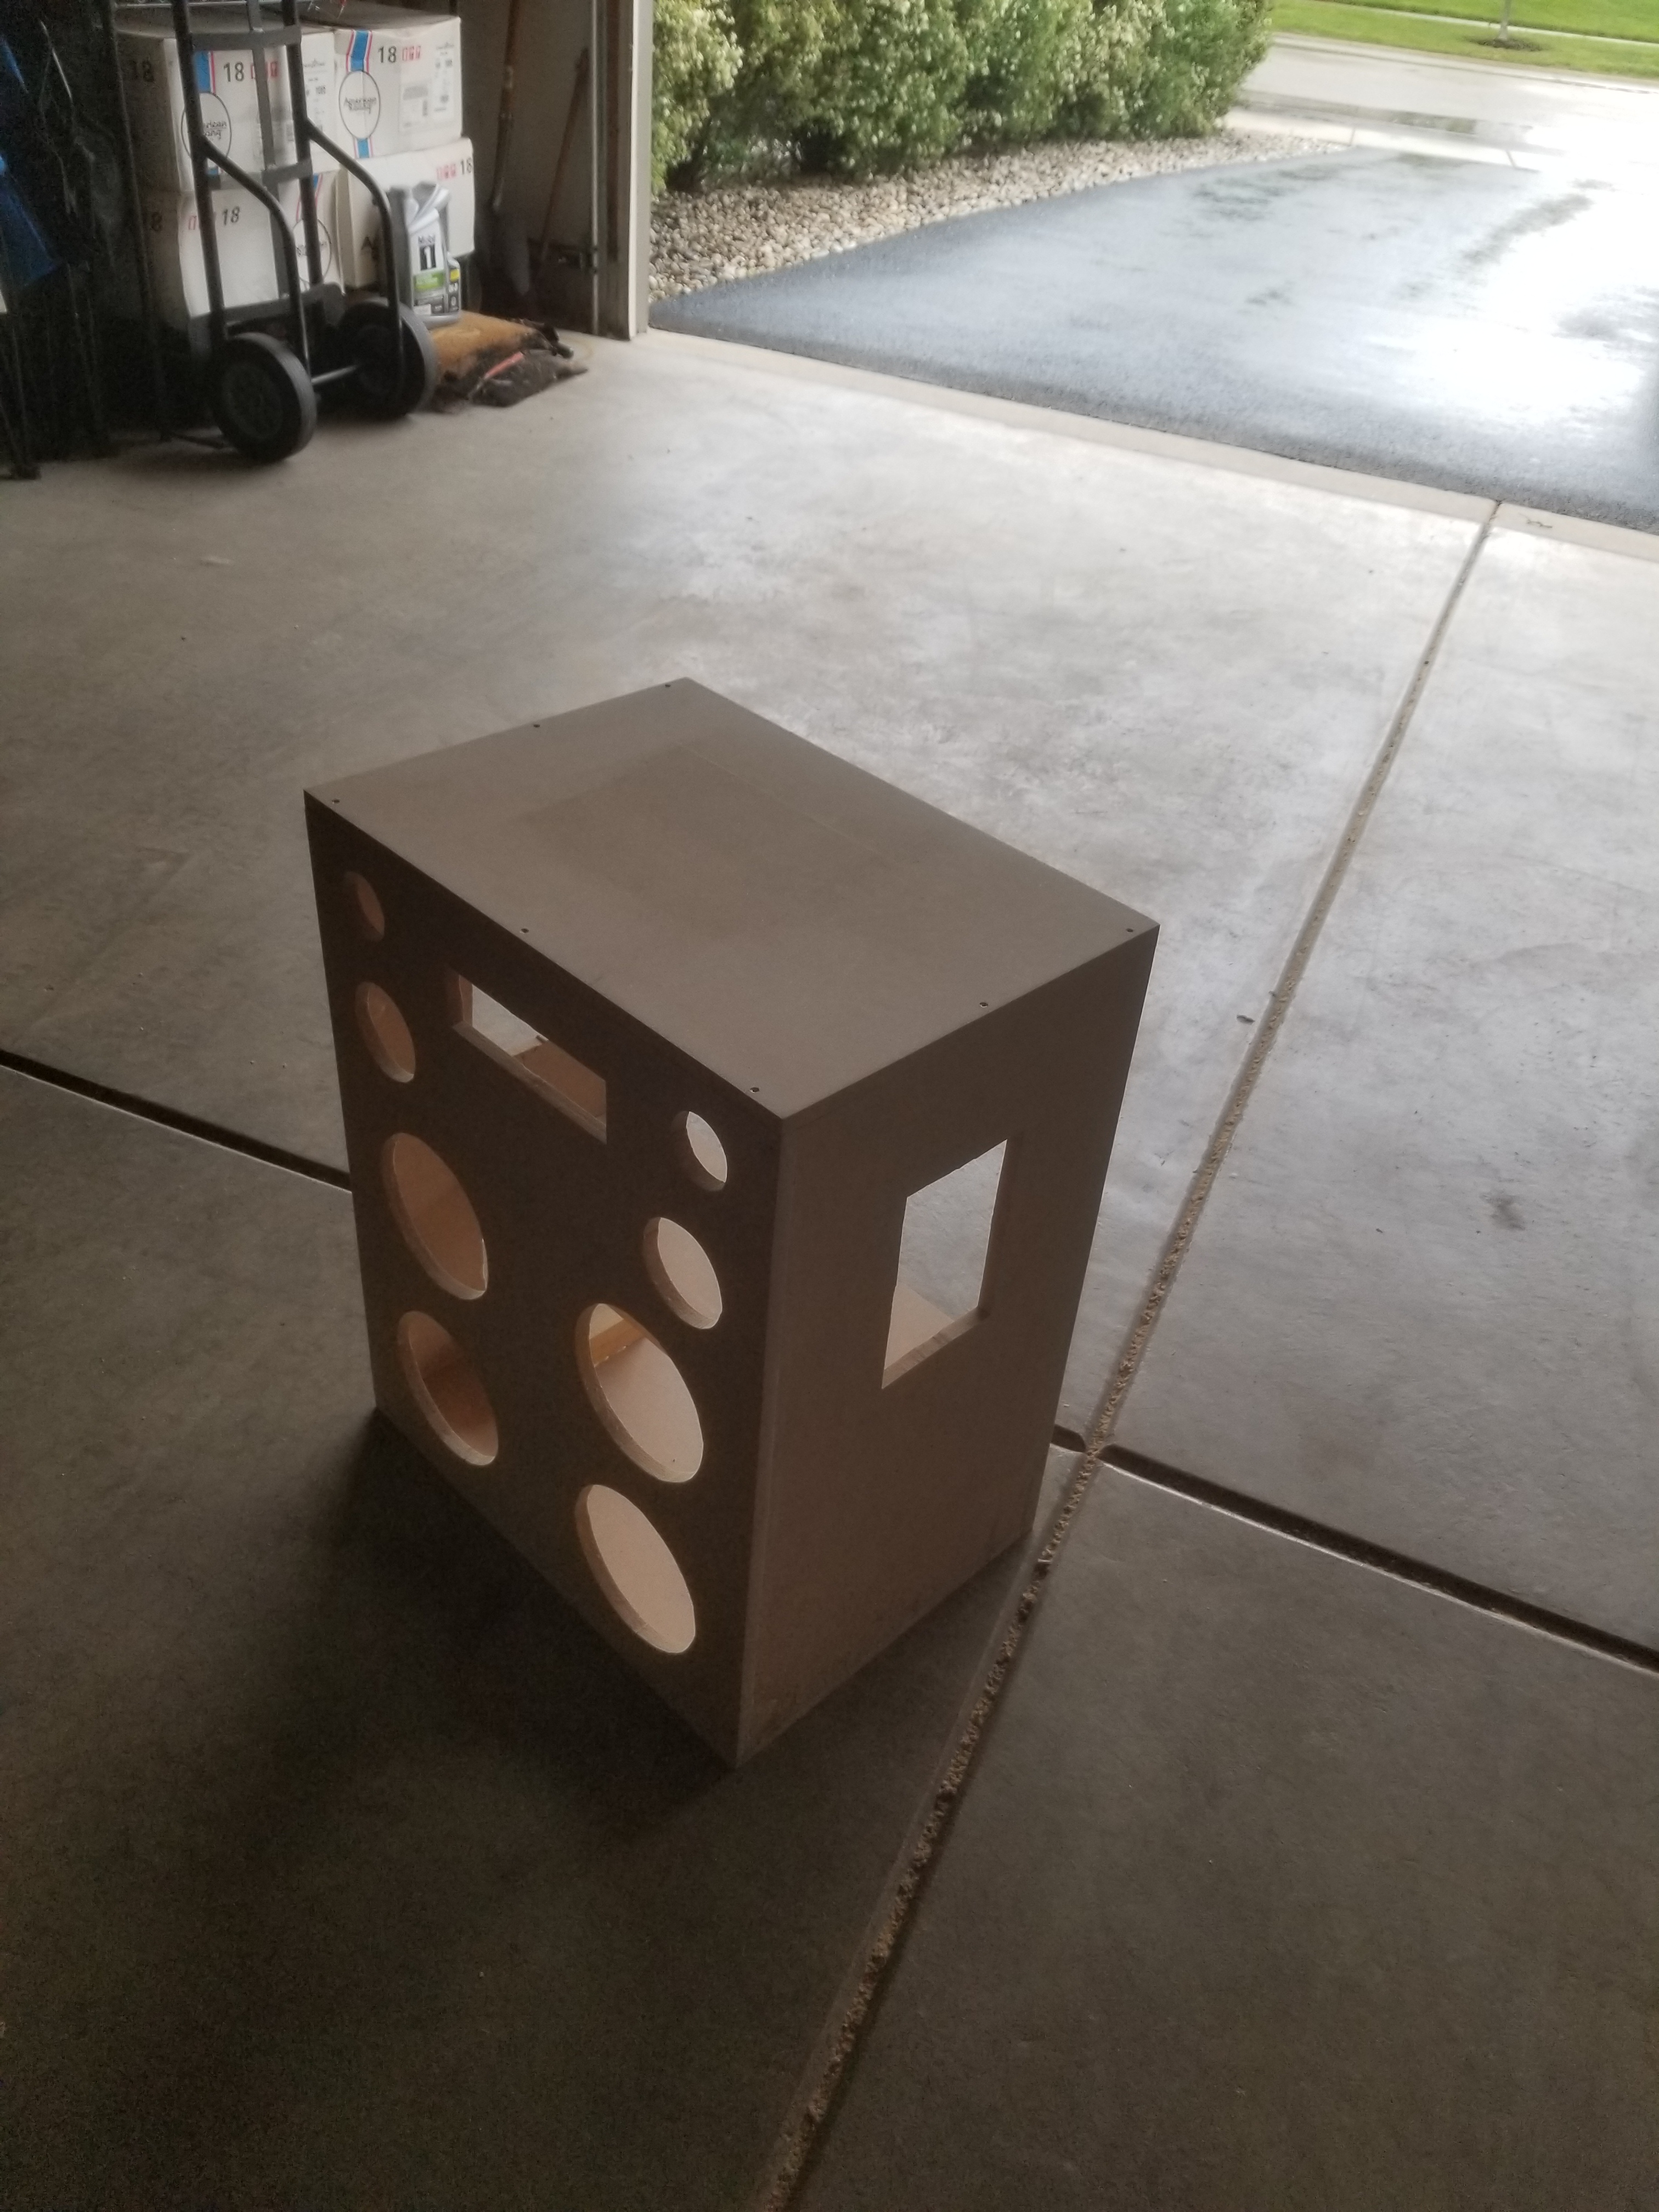
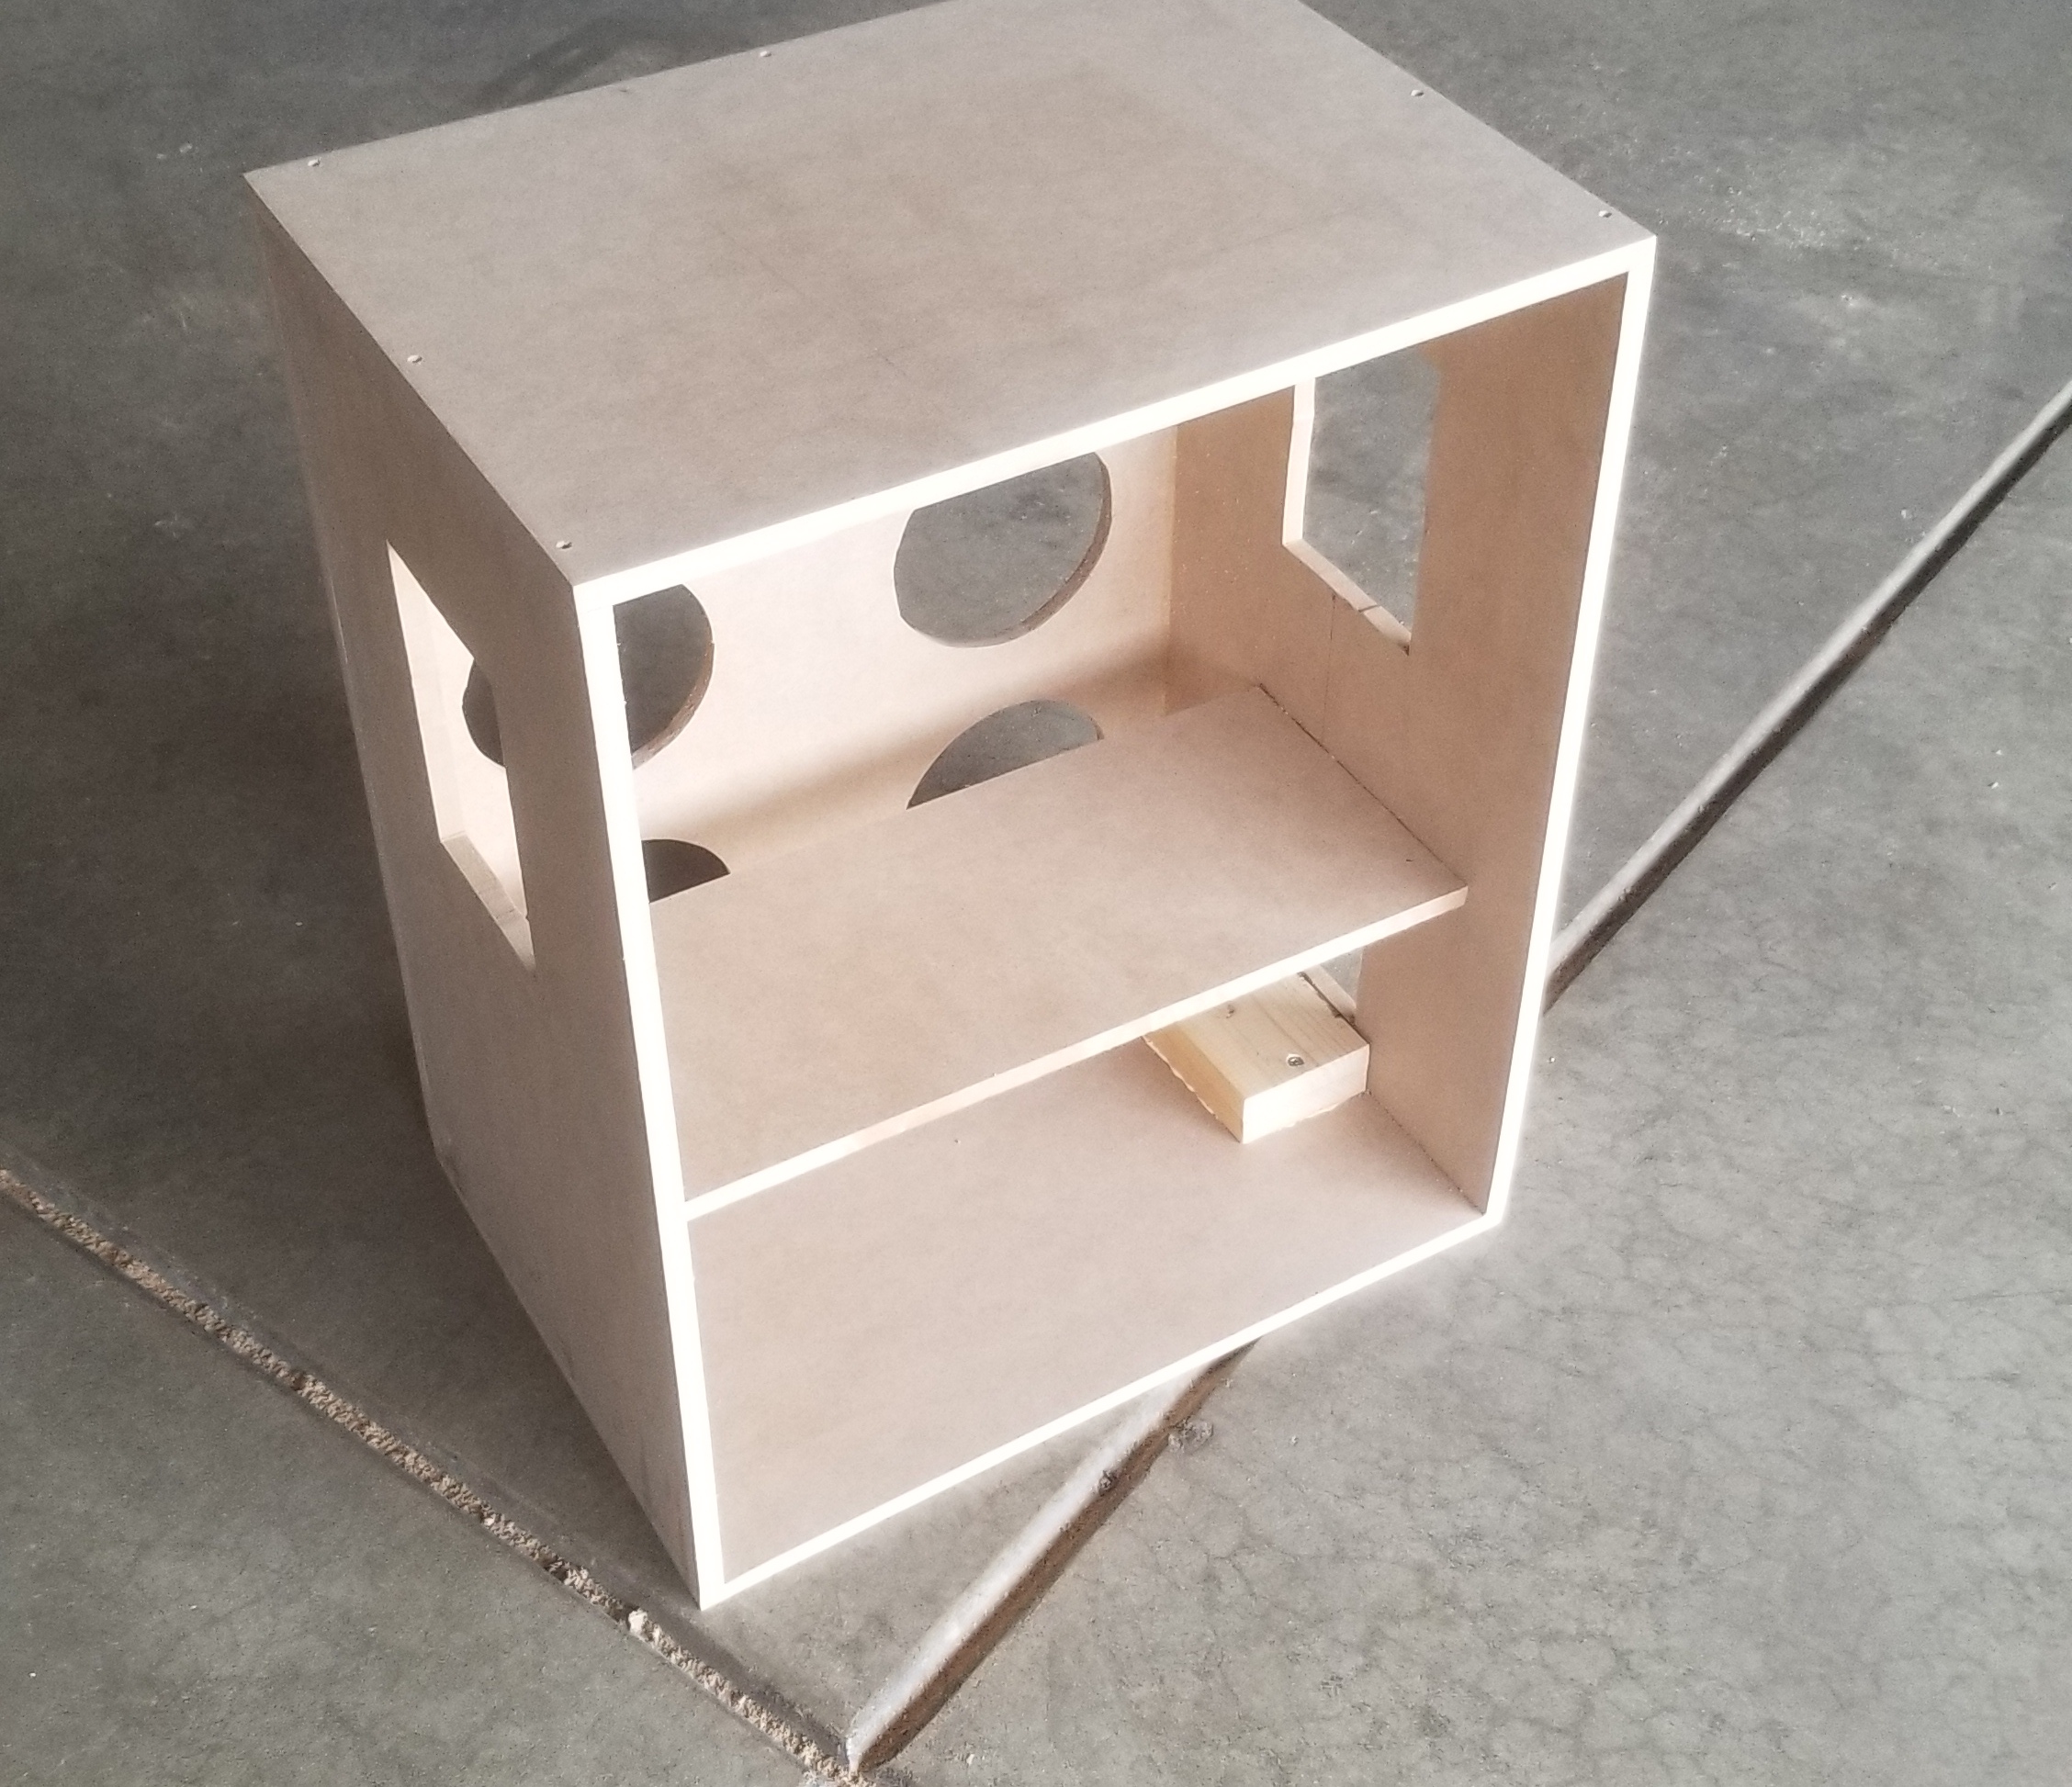
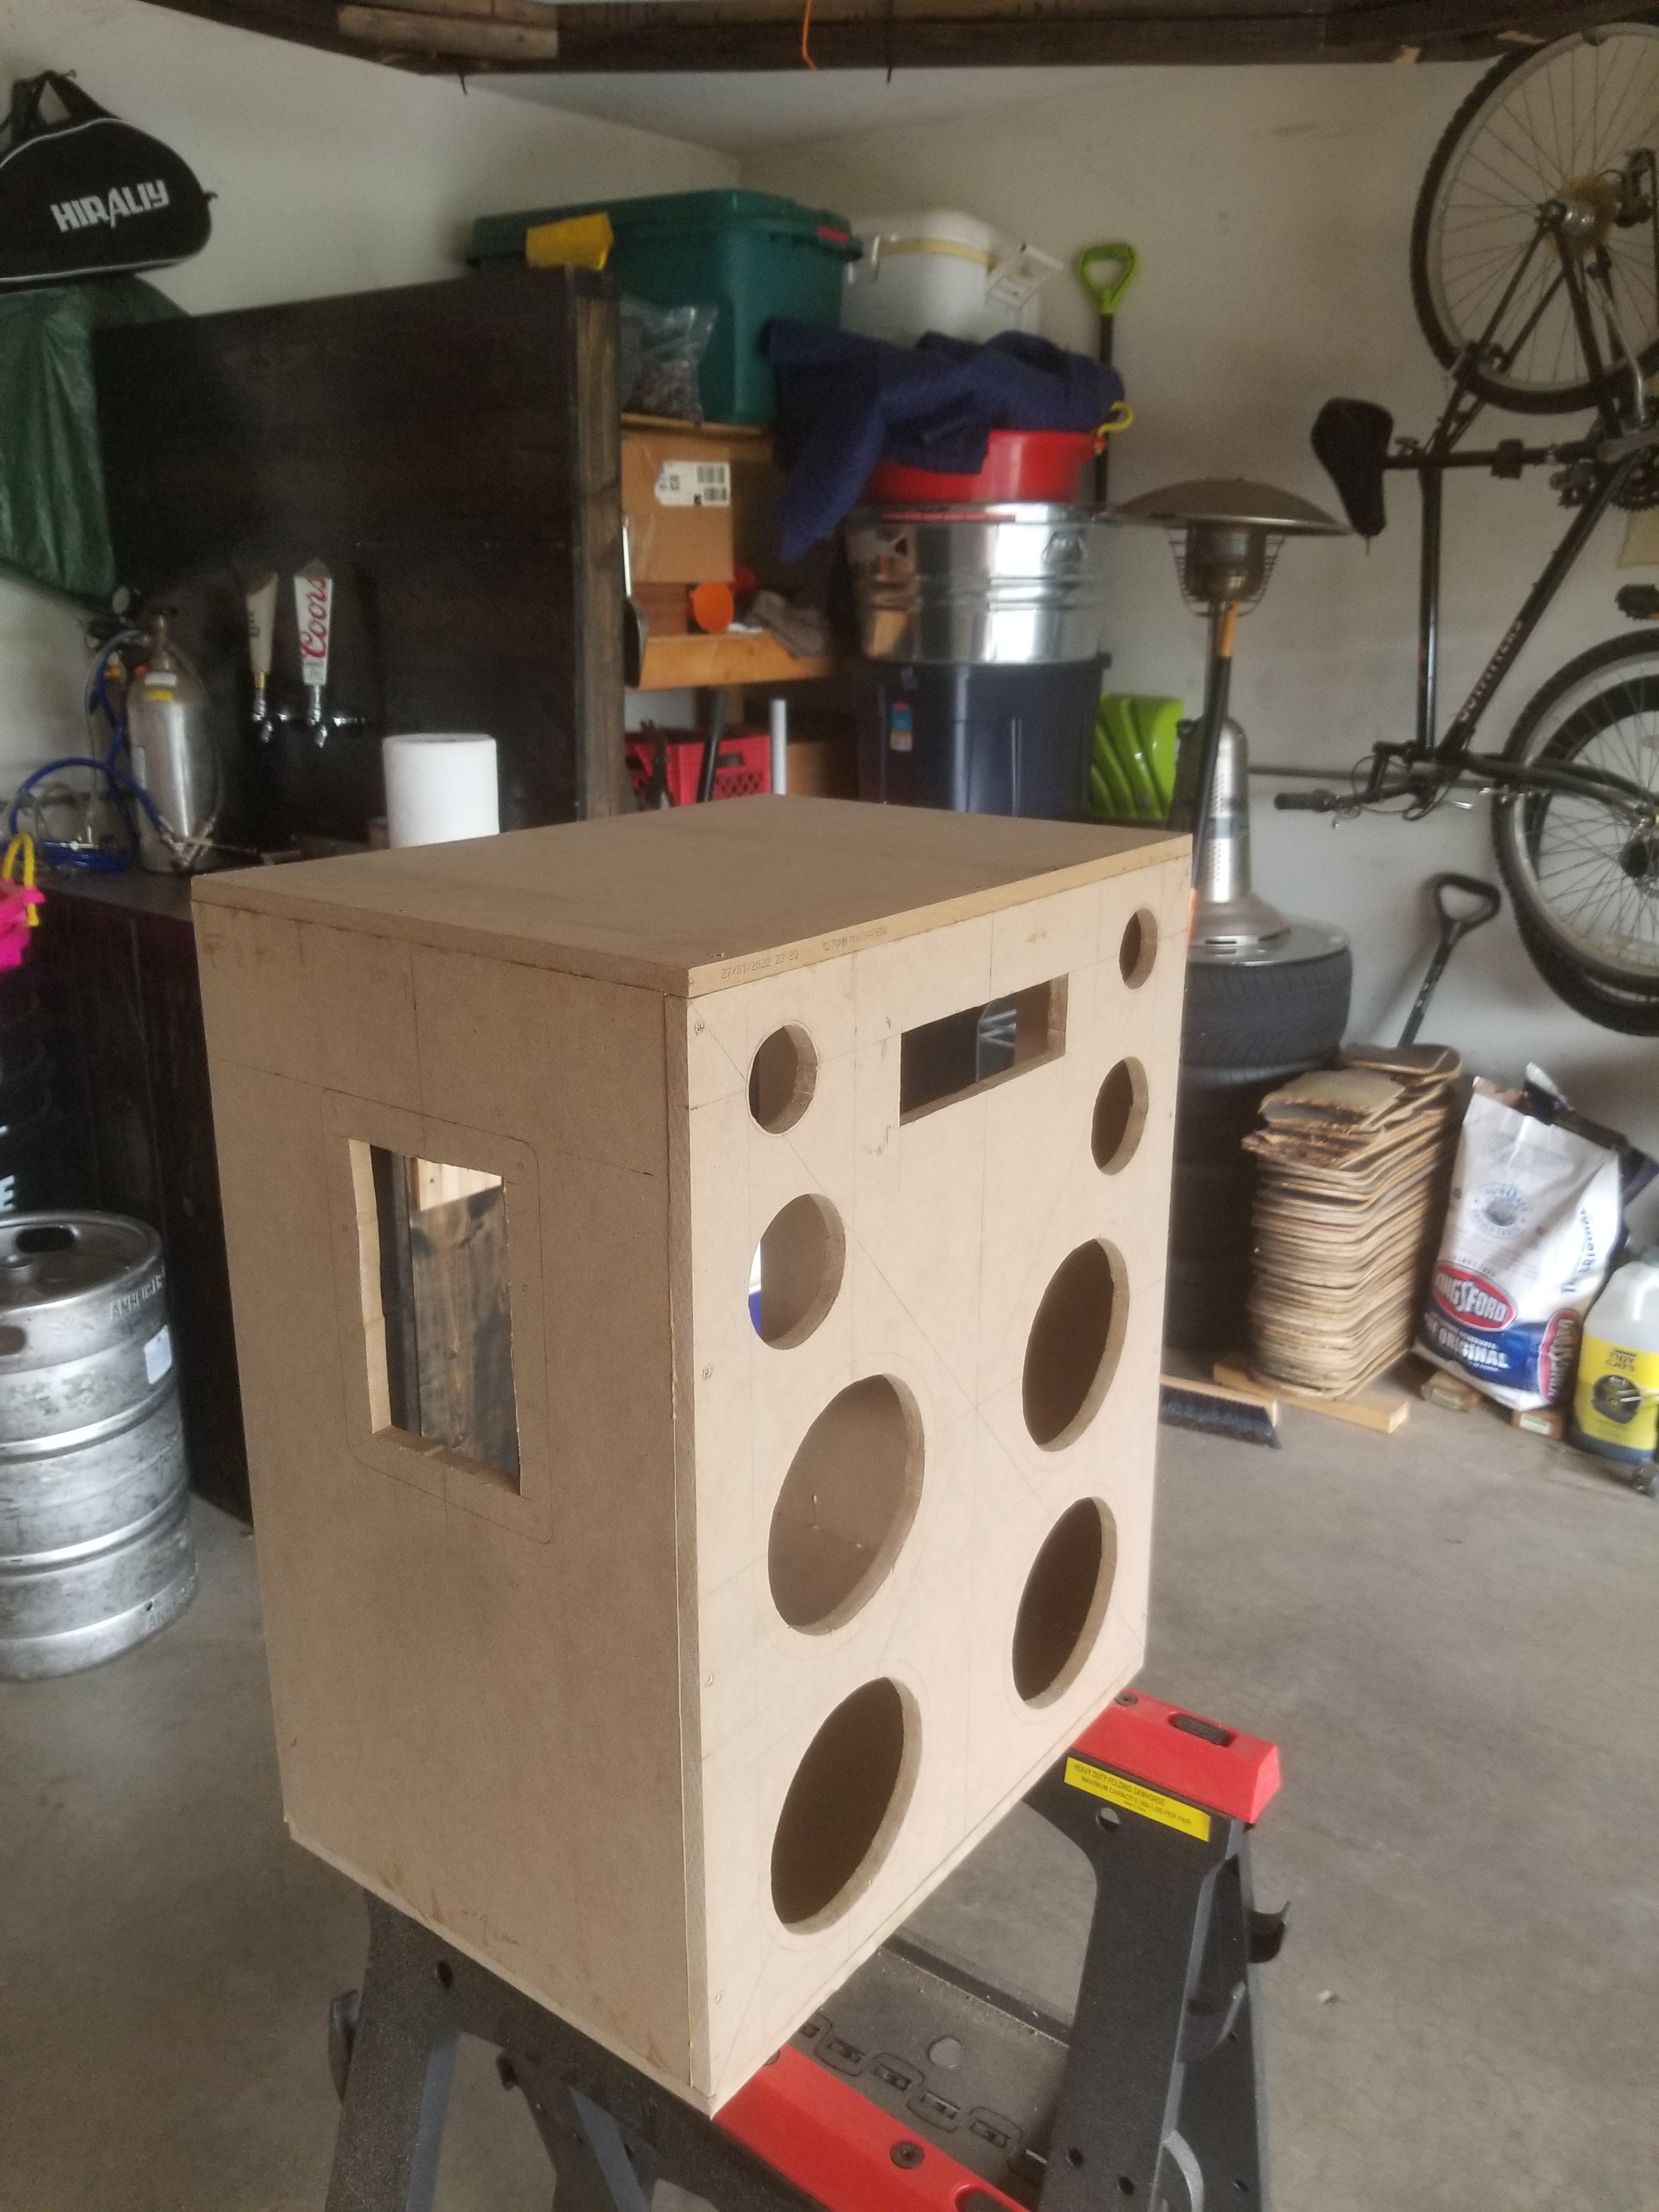
On to the wood working. 3/8″ MDF board was used to build the box. I first cut out all the holes and side panels and then assembled the box with a combination of wood glue and MDF screws. Some pictures of this are below.
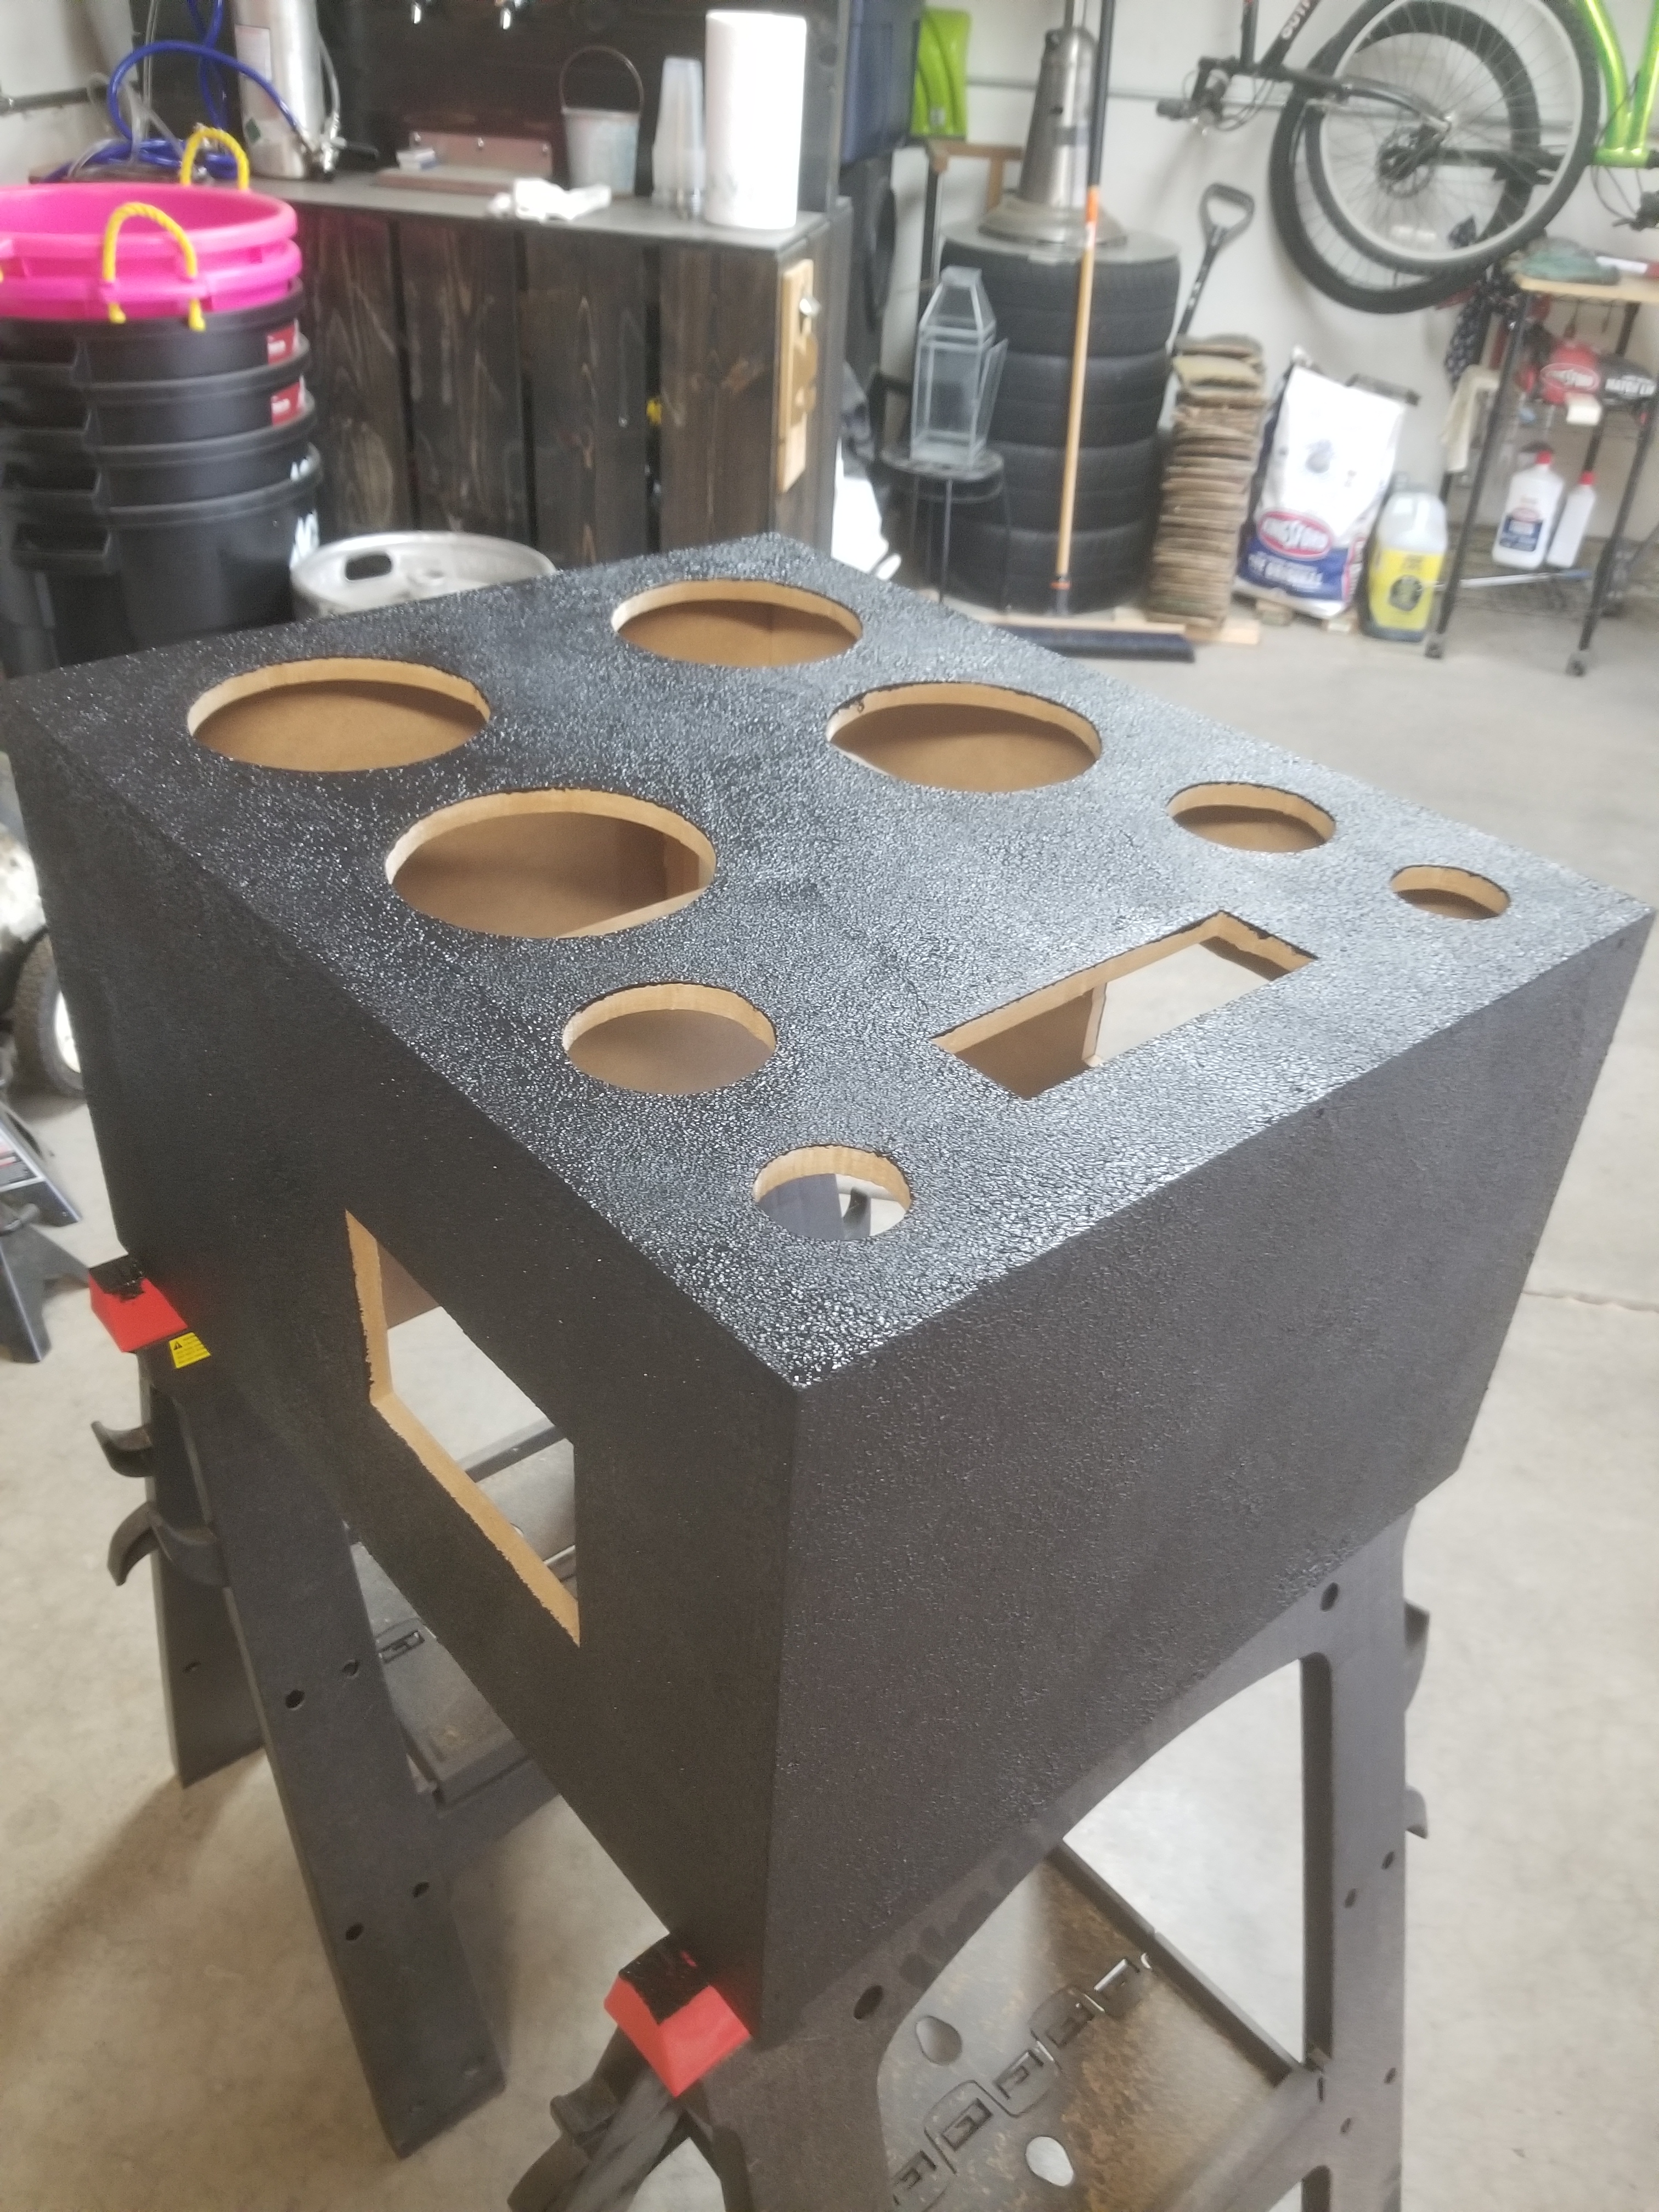
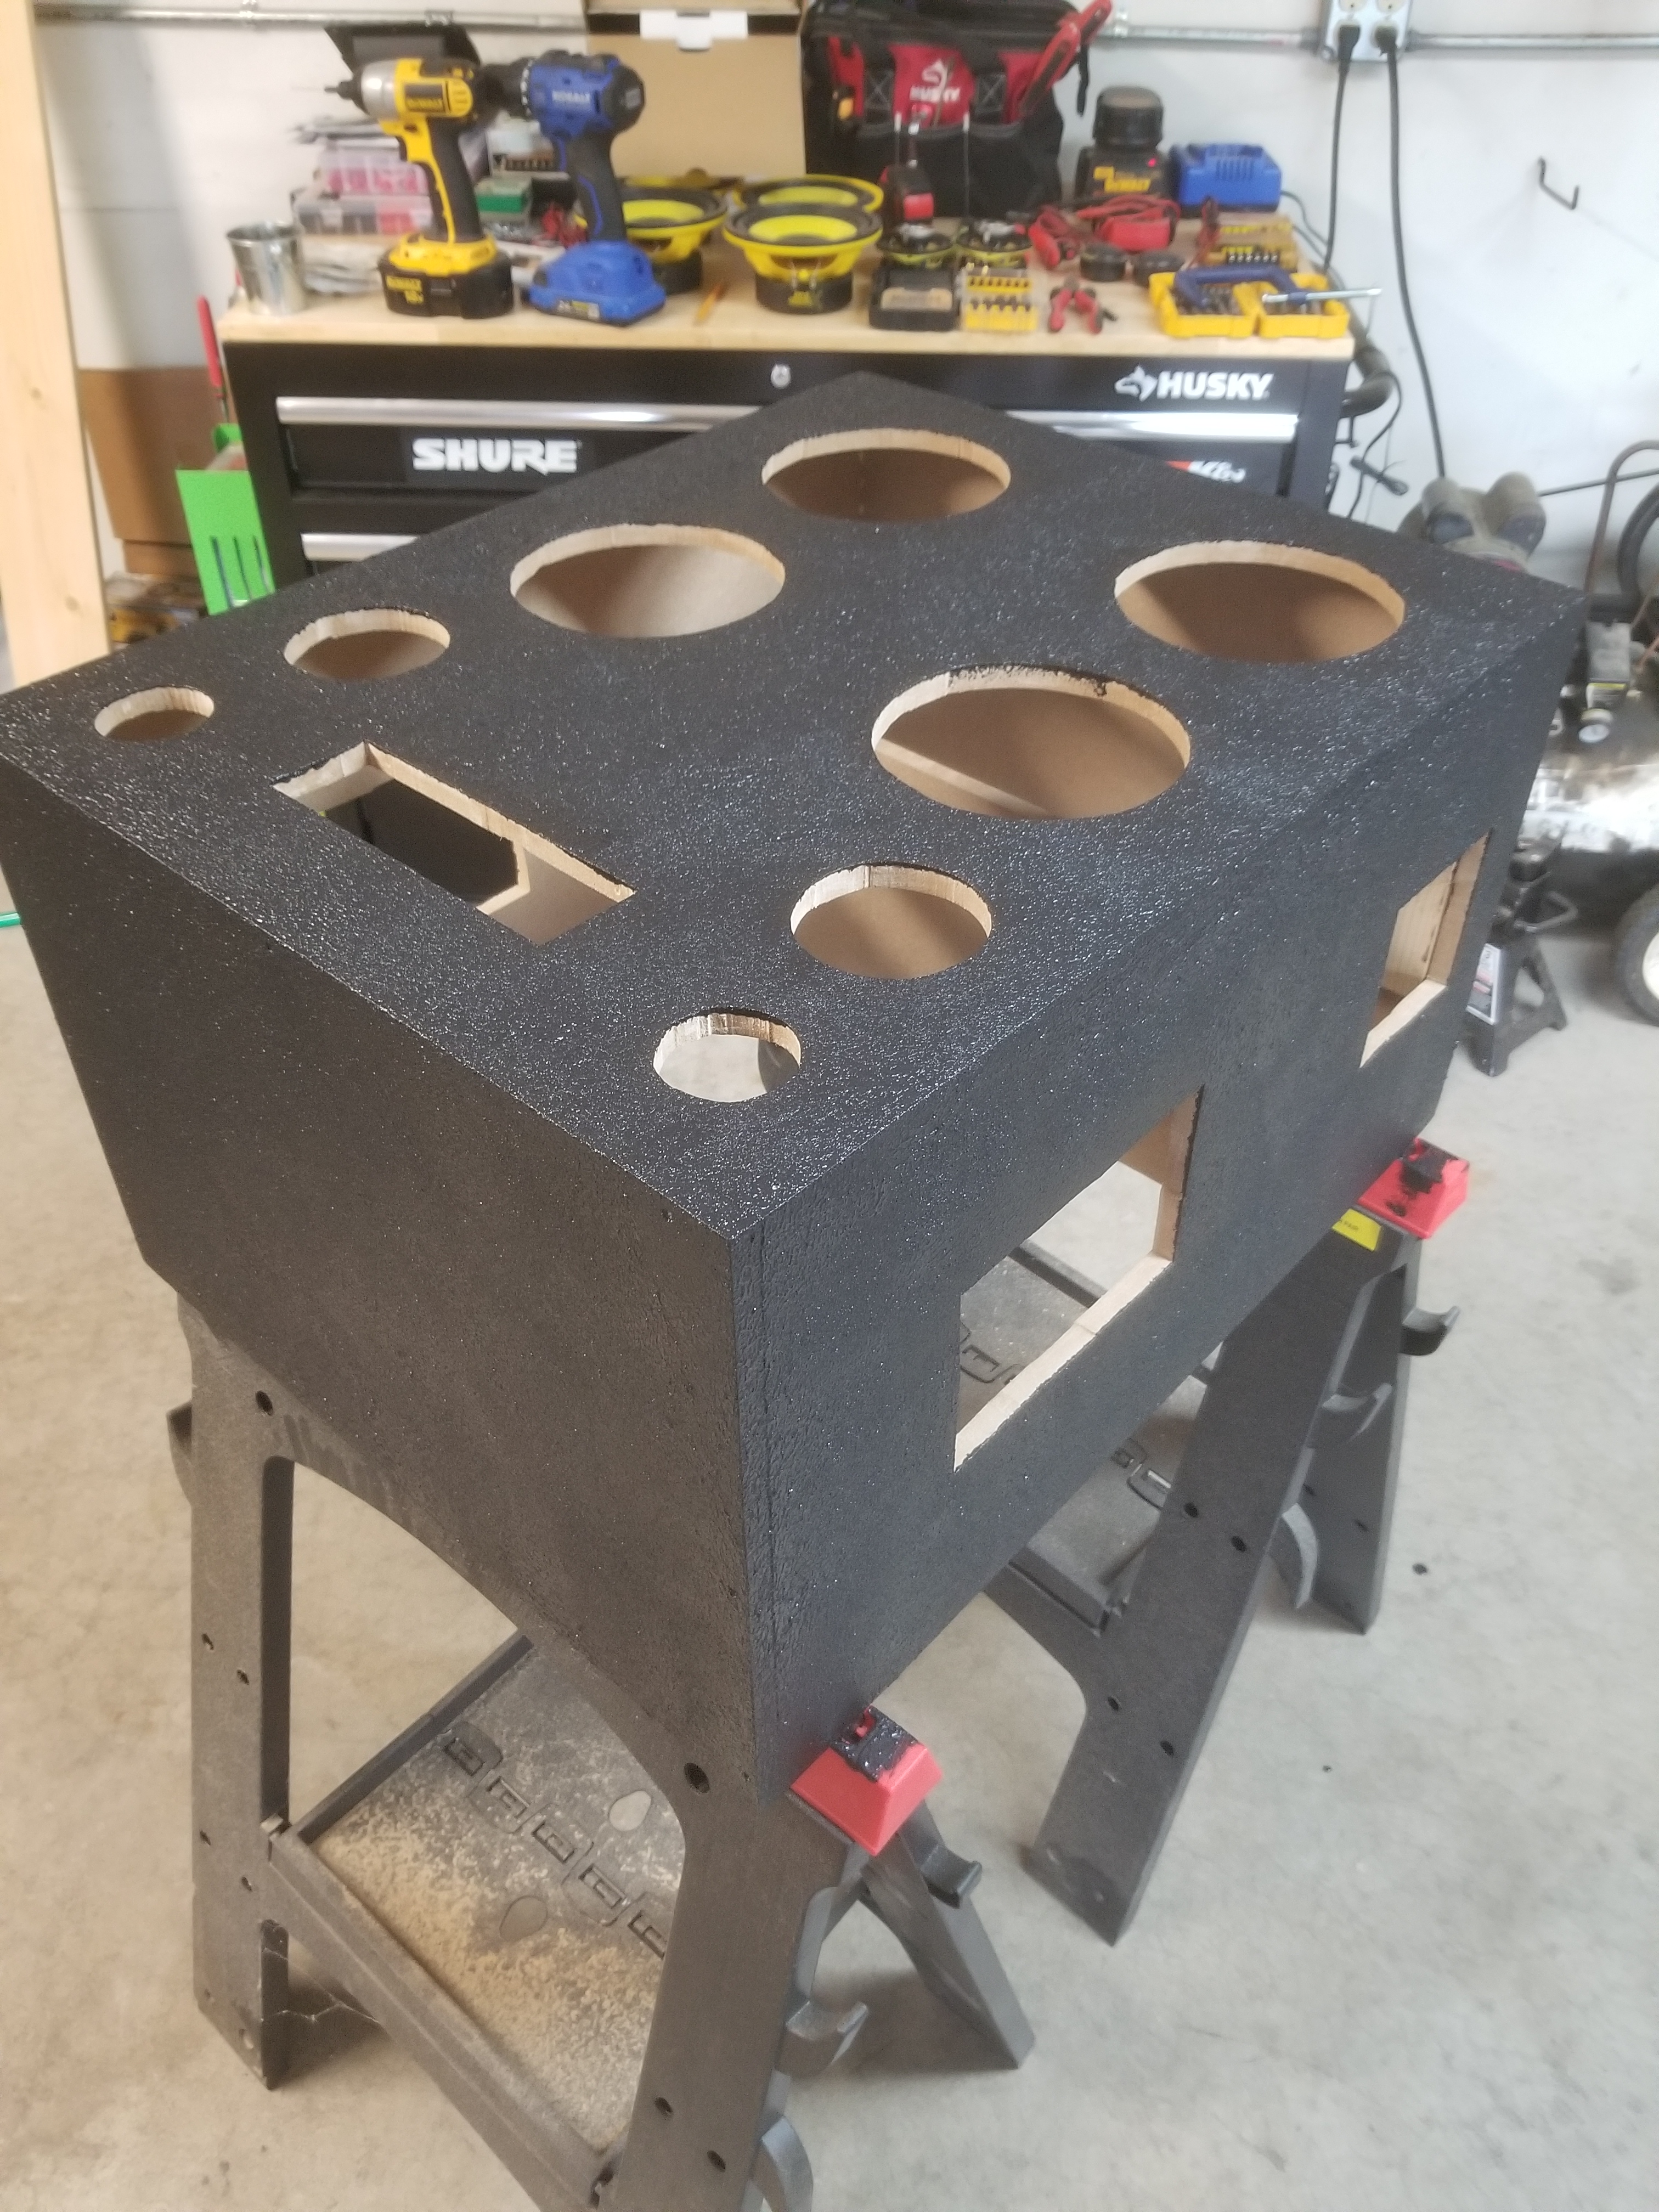
Once I was happy with the wood working part it was time to try out the speaker cabinet paint/coating. The coating is like a super thick goo or slime type of paint. It also gets applied just like paint. I used a small styrofoam roller to apply the material and let it dry over night.
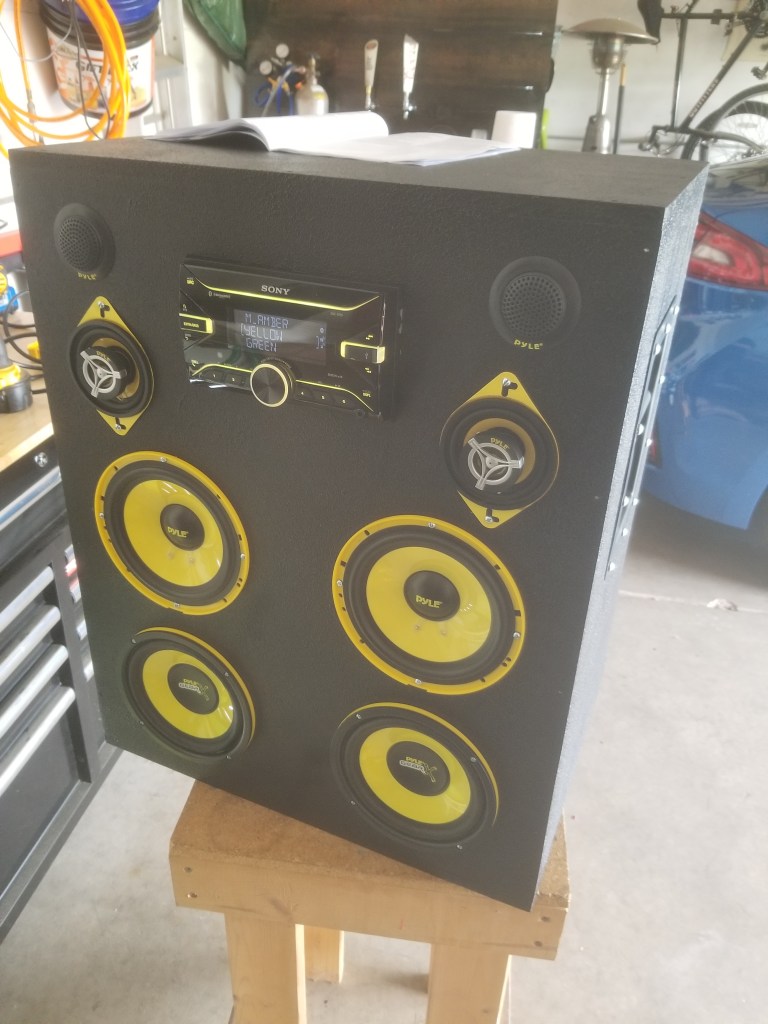
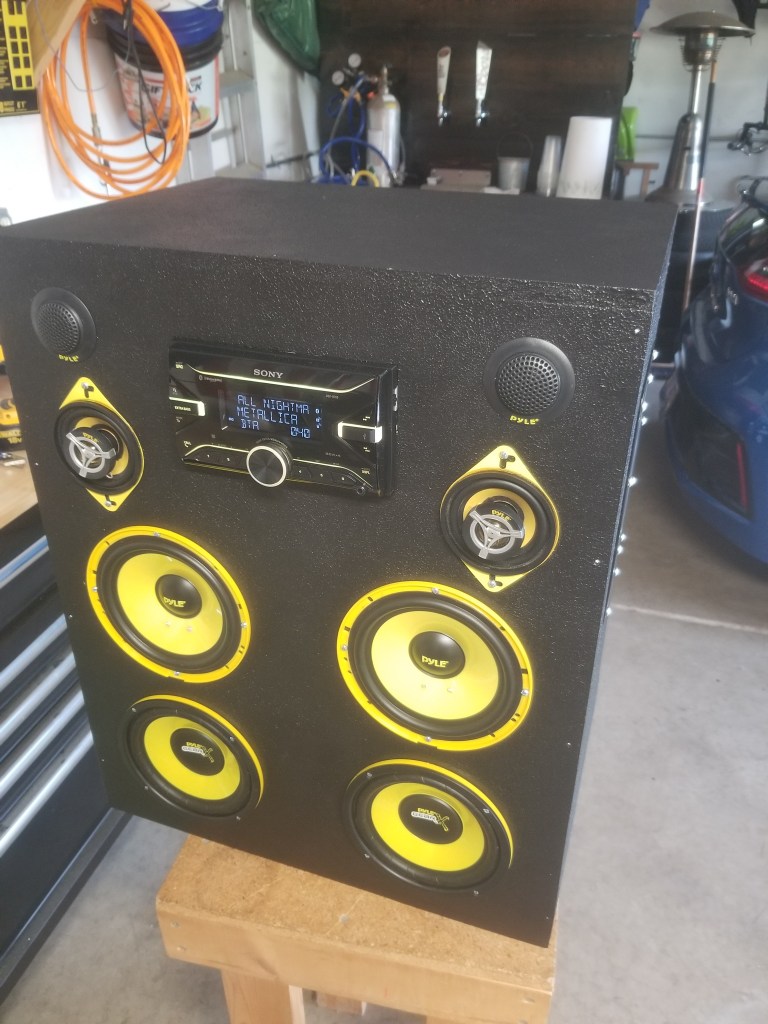
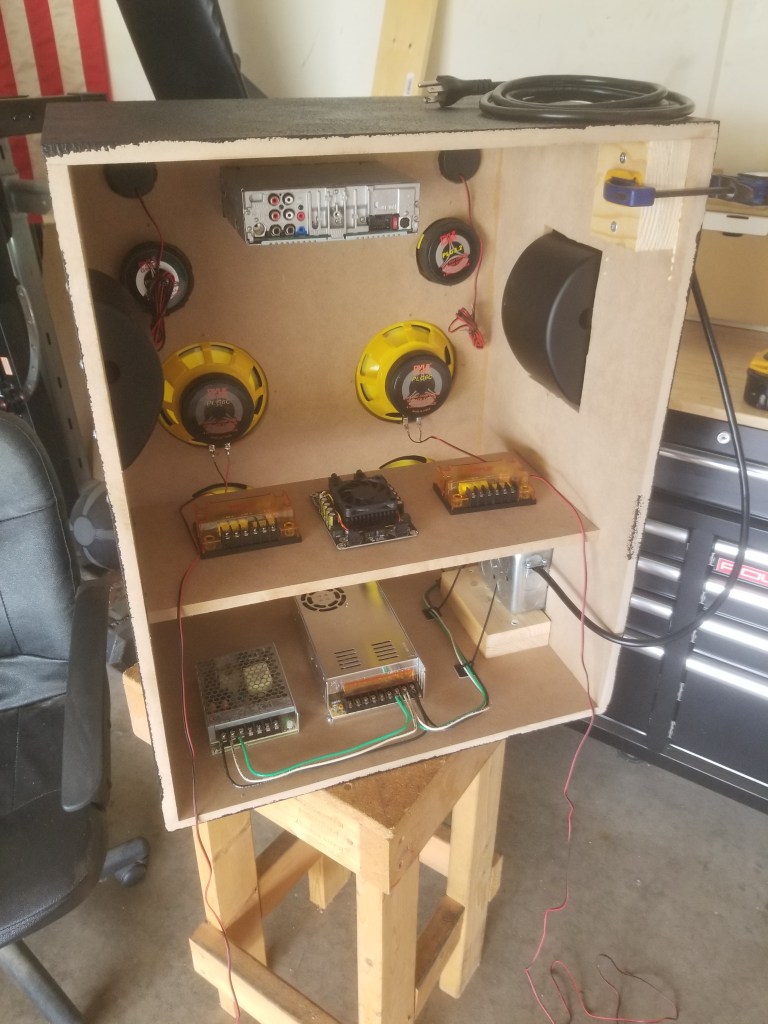
Putting the speakers in was the fun and satisfying part. That is when I was really able to begin to see things coming together…
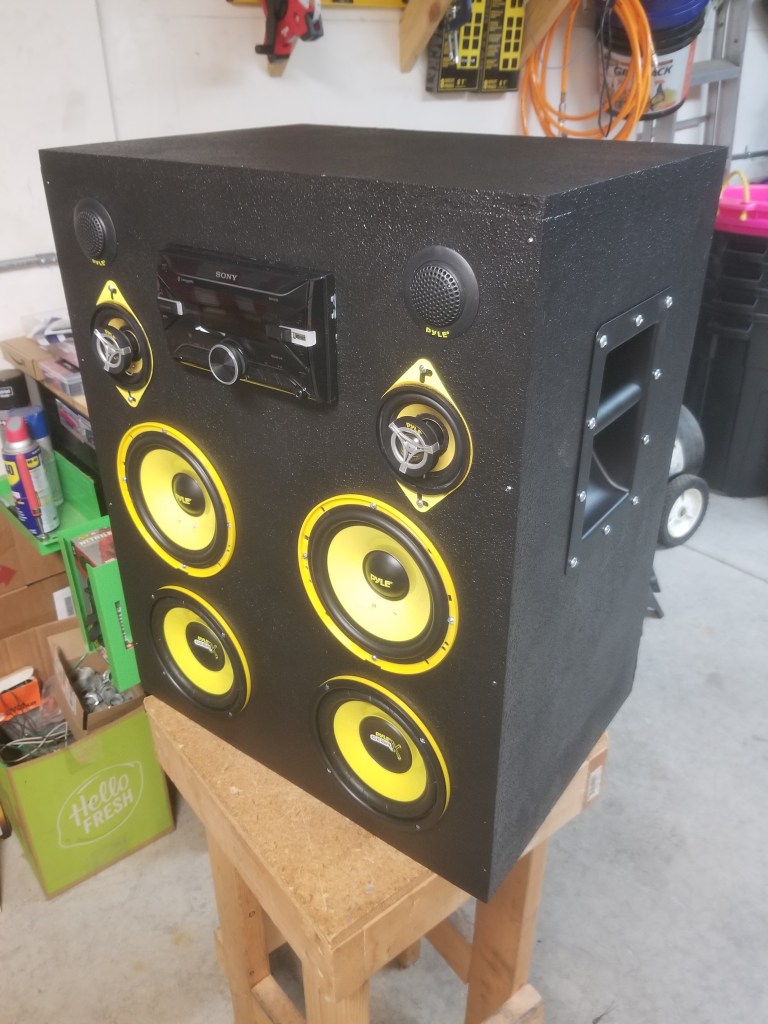
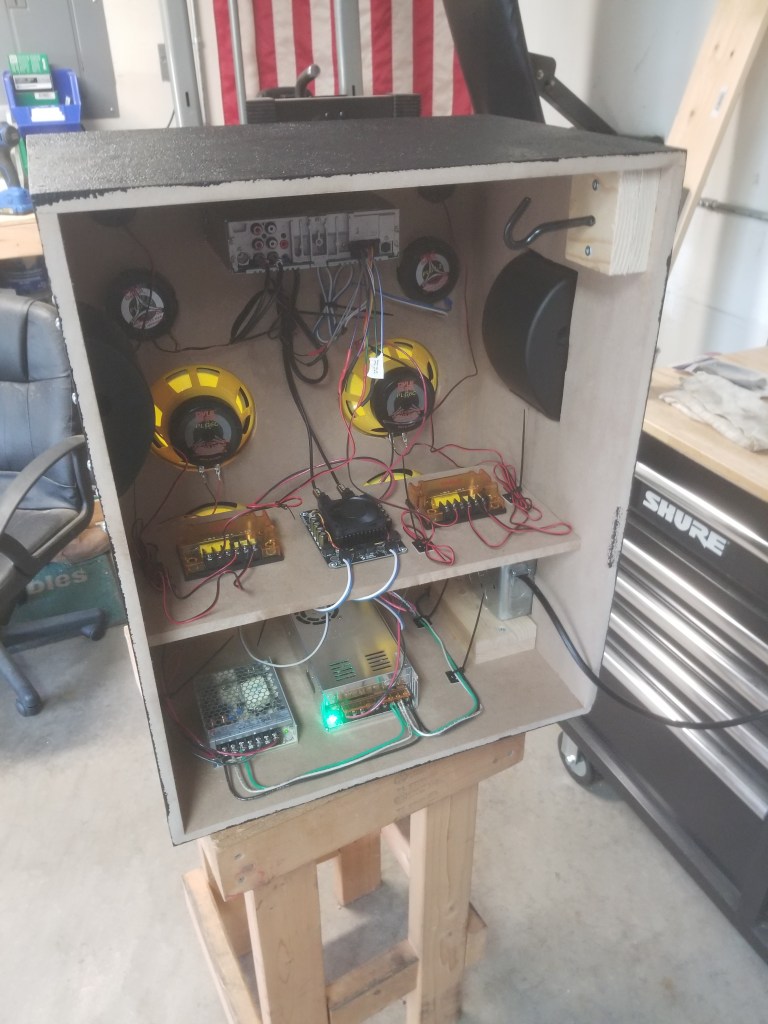
The final part of this build included wiring everything together. I had crossovers that came with the tweeters and a set of the 6 inch speakers. I also bought a small amp to power the additional 6 inch subwoofers. For this project I needed two power supplies, one 24V supply for the subwoofer amp and one 12V supply for the radio. These are wired to run directly off a wall power outlet. I also made sure to keep everything routed nicely and have somewhat of a presentable look. The results for this are below.
Overall, everything worked out great. I would probably change all four of the 6 inch speakers to the same smaller subwoofers if I was to do this again. It sounds great though and the I am really happy with the speaker cabinet coating I tried out. I will definitely be using that again if I was to build another.